-
Teacher explains why it is important to know how to join timber when we are designing and making wooden products.
-
Teacher uses the Wood Joint Animation on an interactive white board to show the common types of wood joints and to explain why they are used.
-
Teacher puts the student version of this lesson plan onto the whiteboard or prints the page with the animation set on the measurement scene.
-
Teacher gathers students around for a demonstration.
-
Teacher explains when a pencil is used to mark out wood and when a marking knife is used.
-
Teacher explains how to hold a try square properly and demonstrates how to mark around the end of a piece of wood using a try square and a marking knife.
-
Teacher demonstrates how to measure and mark a line 45 mm from the first line on both pieces of timber.
-
Students are given two pieces of timber (2 off 160 x 43 x 22).
-
Students mark around one end of both pieces of timber using a try square and marking knife.
-
Students measure 45mm from the line and mark a line around both pieces of timber using a pencil and a try square.
-
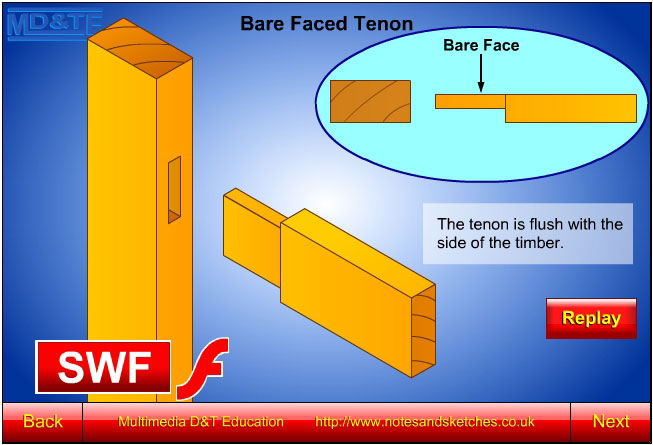
Teacher demonstrates how to set a mortice gauge so that the pins are 8mm apart and 7mm from the stock and how to mark out the width of the tenon joint.
-
Teacher demonstrates how to set a marking gauge to 6mm.
-
Teacher demonstrates how to hold a marking gauge and a mortice gauge and how to use them to mark the tenon.
-
Teacher demonstrates how to mark the waste wood.
-
Students mark out the tenon using a marking gauge and a mortice gauge and mark the waste wood.
-
Teacher demonstrates how to mark lines, (across the grain) where the timber will be sawn, with a marking knife and try square.
-
Teacher demonstrates how a bevel edged chisel may be used to pare along the waste side of the line (across the grain) so that a tenon saw may be located easily next to the line.
-
Teacher demonstrates how to use a tenon saw to saw the tenon:
- holding the timber in a vice and sawing along the grain
- holding the timber on a bench hook and sawing across the grain
-
Teacher demonstrates how to use a try square, pencil and a mortice gauge to mark out the mortice.
-
Students mark out the mortice.
-
Teacher demonstrates how to clamp work to the bench and how to use a mortice chisel and a mallet to cut a through mortice.
-
Students clamp their timber to the bench and use a mortice chisel and a mallet to cut a through mortice.
-
Students assemble their joint.
-
Teacher demonstrates how:
- the pieces should be glued together,
- using a mortice and tenon joint that had been prepared and glued earlier, the teacher demonstrates how to saw off the waste wood protruding from the mortice and how to use a smoothing plane to plane the tenon flush with the edge of the timber.


